Thursday 24 February 2011

Red Oxide

Red Oxide on the bolt line
Last night I really could not be bothered doing anything so had a night off, I think probably because off all the grinding I had to do! Anyway after work I got stuck straight into it, to the rear of the running board bolt line a repair had been done but had been brazed not welded so I had to grind a bit of that off to get to the steel so I had something to weld to. I finished the welding on the bottom plate and ground down the welds to tidy it all up.

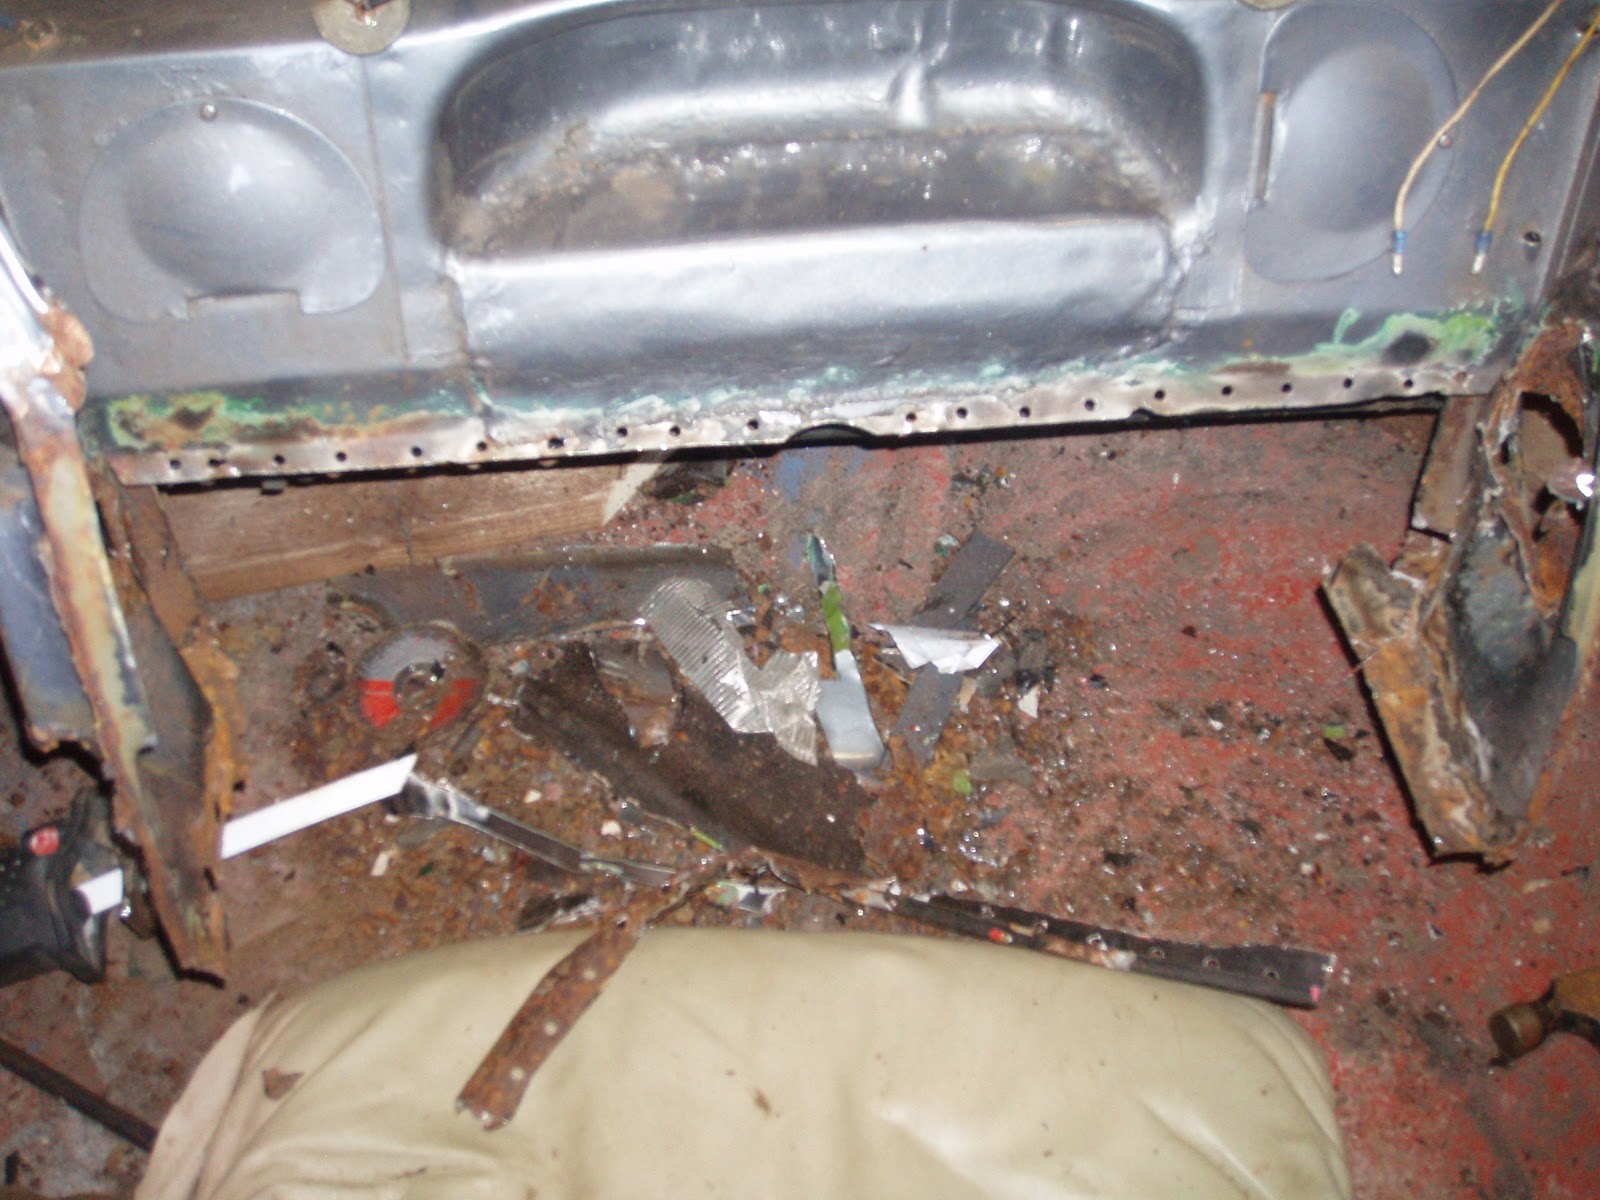
Next I put a coat of red oxide primer on the bolt line of the bottom plate and the new floor pan where the gasket will sit.  This needed a couple of coats so while the first coat dried I decided it was time to make a start on the front end. I clamped the new spare wheel well panel in place and aligned it the best I could then dry fitted the front valence to make sure every thing is sitting correctly. This was then plug welded in place using the holes made when I drilled out the spot welds holding the original panel in place. New done plug welds before so after the first one I unclamped and the panel fell off! New strategy was to try penetrate the panel behind then move out to weld to the panel with the hole. This worked and by the end I had some pretty nice welds!
New Spare wheel well all welded in

Getting this new pan in seems to have been getting more drawn out but now there seems to be a bit of light at the end of the tunnel. I think my next visit will see the pan welded in place and the left hand pan cut out ready for the new one I ordered tonight.

Tuesday 22 February 2011

Burnt Hair

New Bottom Plate
Not updated for a while as I left my camera at the garage and not a lot has happened. Anyway, last week I cut out the bottom plate, before his I measured the cap nuts for the floor pan bolts so I could align the new panel up correctly. I offered up the new panel and bolted it through to the only good original cap nut, clamped it, adjusted the bolt positions and tack welded it in place. Last week I also chipped the last of the floor pan (not much fun!) off the chassis edge and started to clean it up ready for the new pan.

Bottom plate welded in
Last night I spend a few loud and boring hours grind, cutting and checking the fit of the new floor pan, one problem I discover was none of the holes aligned up with he cap nuts in the bottom plate, this didn't really bother me as repair panels never seem to be 100% correct. Today I saw Jason who was visiting from Cornwall and he suggested that I elongate the hole as he has done in the past. I made the hole only slightly bigger and this solved this one.


Floor pan test fitted

Tonight I also welded up the bottom plate, got a few more bits to do on that and clean up with a bit of grinding so its almost there. I've got to do a bit of a repair to the end of the floor pan rear cross member but once that is done all is left to do on the driver (RH) floor is a bit of red oxide and weld in the new pan.

Sunday 13 February 2011

Finally Getting Some Where

Paul's Iron Man (camp) Impression!
Well today was another good day, went to the sports centre with Paul this morning so I didn't get started until about half 11. I decided to concentrate on the drivers side (Left) door sill so I can get the floor pans done. Just before I started to weld Paul noticed my welding mask which in painted metallic red and seemed to think it looked like Iron Man's mask!

Cut out ready for the new sill
Test fitted and ready to be welded


My welds
All welded in


I had a go last week at it but messed it up and wasn't happy with the alignment and the welds. I kept blowing holes and because I only did half of it so looked a bit dodgy. This bothered me and was a bit nervous about doing more welding.

 I ordered a new panel and cut out the rest of the original. I decided the best way to go about it is with a slight overlap. At first the welds were just spots and when I turned the gas up I found it much easier and managed to do some continuous seams. My welding skills are not the best but I'm starting to take my time and improving each time. I'm quite happy with the result, they just need a grinding to make every thing look smooth.

Flintstone Car
Rotten Floor Pan


With the sill in and just needing a bit of a tidy, I decided it was time to cut the floor out. I cut under the heater channel and then with a reciprocating saw cut it out up to the pedals which are still to be removed. I have to do this on my own so I though  this would be the best way. When I putted the pan off it left one of the bolts behind. By the looks of in I only have to replace about 2/3 so that should make things easier.

So Tuesday I should be back on with it, cut out the rest of the floor pan and remove the edge from the chassis and start on the bolt line/closing plate and then eventually get the floor pan by the end of the week.

Saturday 12 February 2011

Bad Head


Well I was at Fleetwood beer festival last night and woke up with a bad head, probably not the best day to start cutting and grinding! All I could taste all day was the 6%, 7.5% and 10.5% cider me and Terry were on last night, I also was meant to be helping Martin shift some furniture at 9am but didn't wake up till 11, sorry Martin.


Spot Welds drilled out ready for the new panel to be plug welded in
Anyway I think it was a good day, didn't get loads done but I'm happy with what was done. On Wednesday night I cut the front valence off and cut out the spare wheel well. Cutting this out I noticed that the bumper hangers were looking dodgy so after a tap with a happer a load of rust fell out and I discovered a ball of masking tape filling a hole and painted over! On the other side there was a silicone type mass filling holes, also painted over! I've decided that it would be best to replace the bumper hangers, this worried be at first but I've been read How to Restore Volkswagen Beetle (http://www.amazon.co.uk/Restore-Volkswagen-Beetle-Enthusiasts-Restoration/dp/1903706904) which shows a way to do this so I feel a bit better about it now.

So today I've been cutting out bits of rot and drilling out spot welds to fit the new spare wheel well panel and and test fitted it. I found that this, as with most repair panels, was a bit tight so there was a bit of fettling to get it right. Hope fully I should be back on it tomorrow and maybe get some panels welded in place.

Wednesday 2 February 2011

It Begins


 My welder arrived this morning so after work I was round at the garage to start the serious stuff. After pulling it out of the box and spending about half and hour I nervously plugged it in and had a try. I played around for a bit with a test piece and soon got into it. Now was time to start welding the car for real!
Test Piece

Strengthening Strut Across The Door Posts
First job was to measure, cut, grind and drill a piece of box section to weld across the door. It may seem a little OTT for a floor pan change but I'm not taking any chances looking at the door sills, last thing I want is to get to the garage one night an find my beetle folded in half down one side. The main problem is that the outer door sill (or running board bolt line) is rotten and so has the heater channel closing plate so there is no good metal to weld to. So when I cut out one or the other some of the strength will be gone, particularly when the floor is out.

Preped For Welding
I decided that it would be best to leave the floor in and cut out the outer door sill first so I have something to when I do the heater channel bolt line. Before I left I marked the distance between the captive nuts for the running boards so that It gave me some thing to align the repair panel with. I was going to use an old running board for the alignment but I want to retain as much of the original  good metal as possible as the repair panels are not always a great grade of steel so just the very outside edge and bottom lip will be replaced. I decided not to replace it the entire width of the door but that may change once I get a better look and the state of it once I've cut the rot and filler out.
Bolt Distance Marked


Tomorrow, hopefully, will be cut out a weld in day for the door sill so we will see how that goes! My aim in to have the driver side sill, bolt line and floor pan in by the end of next week and most of the welding done by the end of the month, but we will just see what happens.

Tuesday 1 February 2011

Filler and Coke cans


Last week have been frustrating and interesting. I've been waiting for panels and a welding rig so not been able to get on with it. While I've been waiting, I've taken a few more bits off her and cut out all the redundant stereo wires. Speaking of which, I don't know much about ICE but some of the thing the way it was wired was a bit questionable and explained why it didn't seem to be right and melted the power cable! Mr.Carlsson will be sorting that out for me this time.

I attacked the drivers side door sill with a wire brush on a grinder and discover more holes along it hidden by lumps of rust and filler! It was a similar story when I has brushing paint of the floor pan bolts, more holes along the edge. Seems paint and filler were hiding rust and holes.


Making the first floor pan cut under the heater channel made a hole at the jacking point lot bigger by flicking out lumps of rust. One scary thing though is the weld on the seat frame were starting to rust through! Finally I decided it would be best to replace the whole floor pan half when I put a screw driver through the front end when scrapping the paint off with not a lot of effort. Luckily though a haven't (yet) found and coke can fillerd in like you hear about.


I also go the exhaust off to have a look at the rear bumper hanger, it looks like the rot goes beyond the size of a standard repair panel so look like I'll have to make a repair section rather than spend £55 for a full inner arch to use a fraction of it. The drivers side seems to be the worst, I'm from where it has bee parked most its life and spray from on coming vehicles.


The welder turns up tomorrow so things can get moving so it's going to be a busy couple of week. Also 1 day to go on the colour pole. so far it about 90% lime green so I best get to Martin Brown for some colour chips!